My husband Jake runs a trail running YouTube channel called Running for Views. He loves filming. He does not love writing blog posts, keyword research, or remembering to email his subscribers.
So we built a system where Jake does the fun part (running, filming, talking to the camera) and an AI assistant handles the busywork: it turns his own words into a blog post and a newsletter, and he approves each one. One video now turns into three pieces of content:
- the YouTube video itself
- a blog post on his website that can show up in Google
- a newsletter email to his subscribers
Here is exactly how it works, using one real example: his video about a trail run to Lac du Grand Laus in the French Alps. It went up on YouTube on a Wednesday, the blog post went live the next day, and the newsletter went out that Friday.

What you need
- Google Drive (free) for handing over footage.
- Descript for editing video by editing text. Jake uses the Creator plan.
- Claude (a paid plan) to do the writing and checking.
- Kit (the free plan works) for the newsletter.
- A website with a blog. Jake's is a simple site we built with Claude, but WordPress works too.
- Optional: TubeBuddy, a YouTube add-on for keyword research.
You do not need to know how to code for any of this.
Step 1: Drop the footage in one shared folder
This is the newest piece of the system. We made one Google Drive folder called Footage Inbox and shared it with Jake. From now on, when he gets home from a run, he drops his clips in there. That's his only job until the edit.
Why it matters: one fixed place means nobody hunts through phones, texts or AirDrops. Claude checks the folder every weekday and flags new footage.
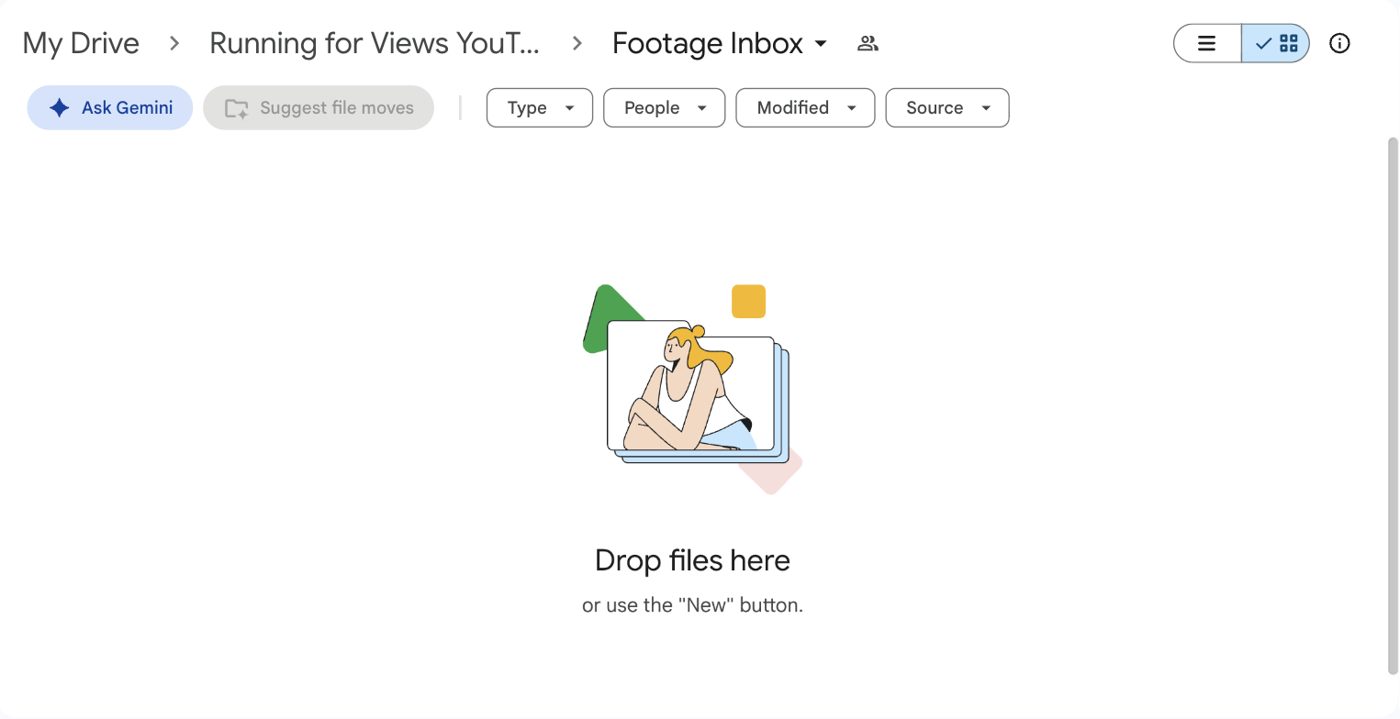
How to share the folder: in Google Drive, click the folder once to select it, then click Share (the person icon with a plus sign). Type the other person's email address, set their role to Editor so they can add files, and click Send. Our Footage Inbox is shared exactly this way: I'm the owner and Jake is an Editor.
Step 2: Edit in Descript
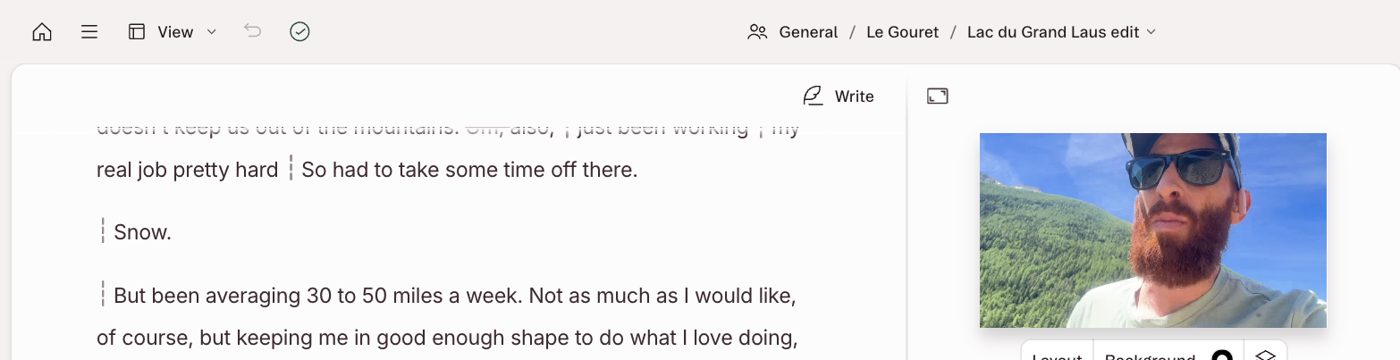
Descript turns your video into a transcript you can edit like a document. Delete a sentence in the text and it disappears from the video. This is the step that makes editing doable for non-editors.
Jake edits on our shared Descript account, so every project lives in one place.
Step 3: Pick a title people actually search for
Before publishing, Claude uses TubeBuddy's Keyword Explorer to compare a few title ideas. TubeBuddy gives each one a score based on how often people search for it and how much competition there is. Jake picks the one he likes.
For upcoming videos, this is how Jake chose between "Best hikes near Nice," "TDS training plan" and "How to train for UTMB": TubeBuddy scored them 100, 92 and 63.
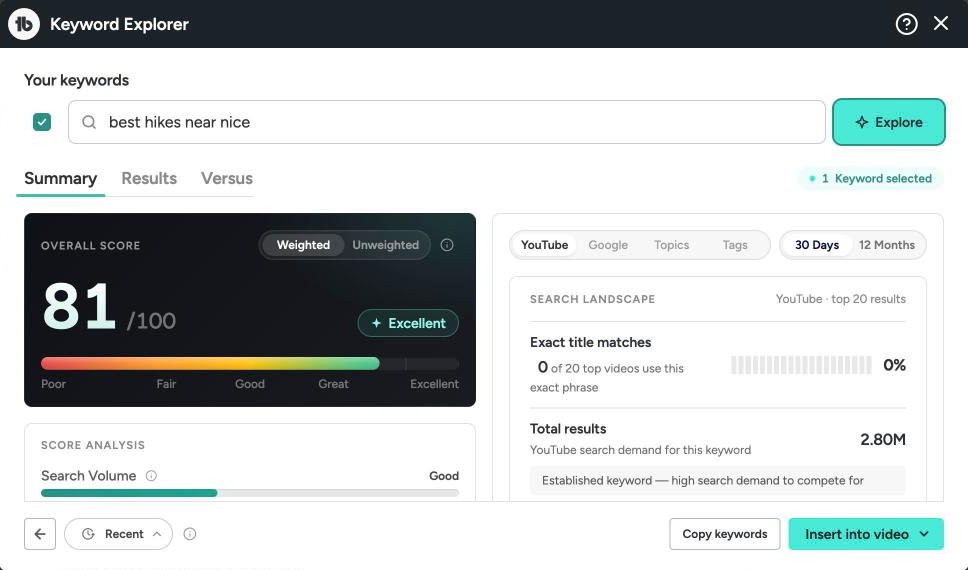
Scores move over time: when we checked "best hikes near Nice" again in October it scored 81, still "Excellent." To open it, click the teal TubeBuddy button at the top of YouTube Studio and choose Keyword Explorer.
Step 4: Publish on YouTube with a newsletter link
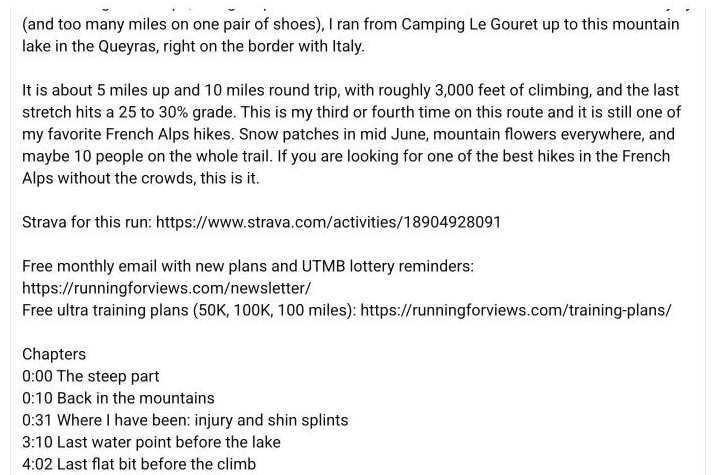
Jake makes the thumbnail and publishes. Every video description now has the same line inviting viewers to the free newsletter, with a link to his newsletter page. He also pins a comment with the same link.
This is the bridge: YouTube viewers become email subscribers, and email subscribers are the audience you actually own.
Step 5: Turn the transcript into a blog post
This is where the time savings are biggest. Claude takes the video's transcript and restructures it into a real blog post: a clear title, headings, the route details, and the video embedded at the top.
The rule we follow: only Jake's facts. Claude doesn't add anything Jake didn't say in the video. If something is unclear (like the spelling of a place name), Claude asks Jake instead of guessing.
Then Jake reads it and says yes or asks for changes. Nothing goes live without his yes.
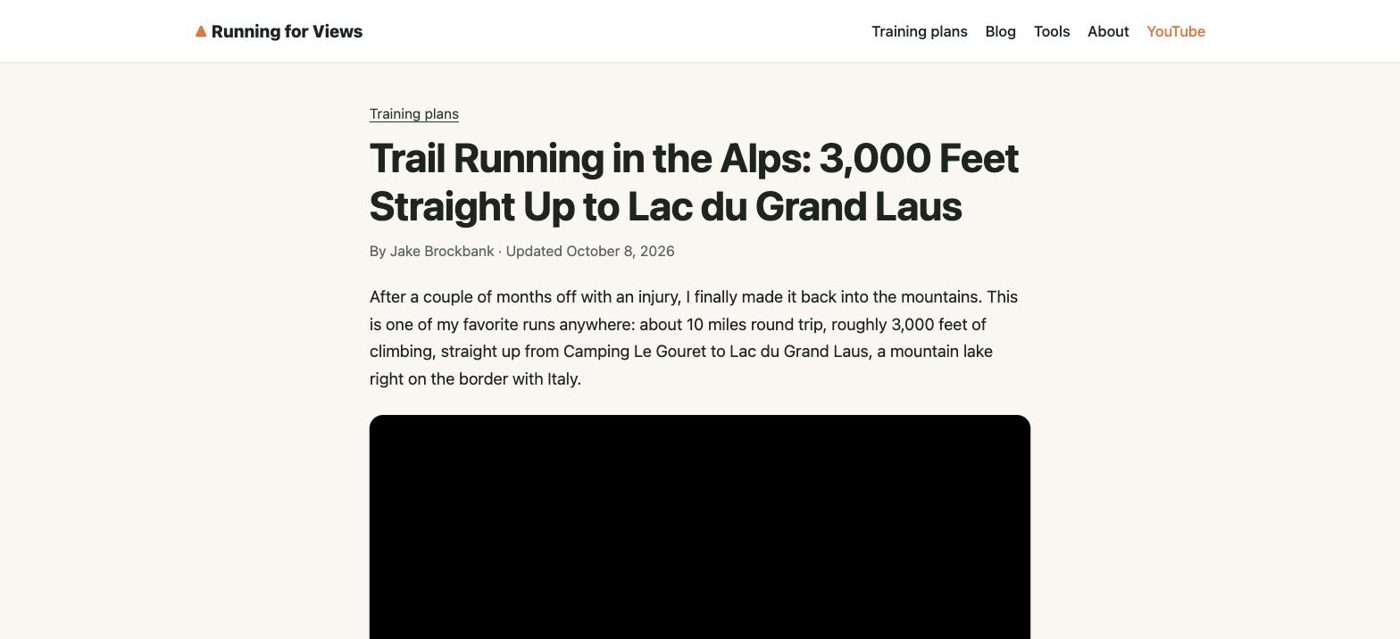
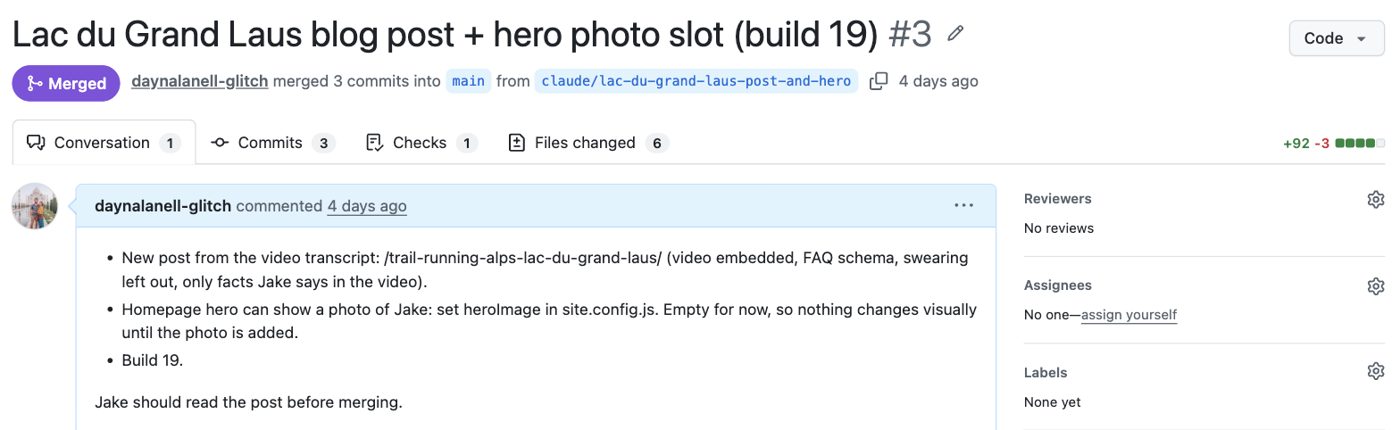
That page is from GitHub, where the website lives. Don't let the name scare you: a "pull request" is just a proposed change waiting for a yes. Claude writes the summary at the top, Jake reads the post, and once he says yes, one click on Merge publishes it.
Step 6: Write the newsletter from the post
Claude drafts the newsletter in Kit from the blog post: a short, personal intro in Jake's voice, the highlights of the run, and a link to the video and the post. Jake's newsletter promises roughly monthly emails with running updates, early access to new tools, and race registration reminders, so each draft stays inside that promise.
Then a human schedules it. Claude can write and edit the draft, but a person always clicks send.
How scheduling works in Kit: when the draft is ready, click Continue to get to the publish page. Choose Send email, check the From address and who it goes to, then click Schedule next to "When would you like to send this?" Pick the date and time in the calendar that pops up, click Continue in the bottom-right corner, and confirm with Schedule email. Changed your mind? On the Broadcasts page, click the three dots next to the email and choose Unschedule.
Step 7: A daily list so nothing slips
The glue holding it together is a short list Jake gets on his phone every weekday afternoon, right after his last class. Claude checks what's waiting on him (a post to approve, a question about a place name, footage to drop off) and puts only his items in it.
So Jake never has to remember the system. He just answers his list.
What Jake's list looks like: right after his last class of the day, a notification from the Claude app pops up on his phone. The message holds at most three things, each answerable in one word or one number ("reply 1 to 7", "reply OK"), with any wording Claude drafted right there in the message. It ends by telling him he can just reply and Claude updates everything from there. The whole thing takes him under five minutes.
What it saves
Before this, a video was the end of the road. Now each video becomes a searchable blog post and a newsletter, and Jake's part beyond filming is mostly reading and saying yes.
Want to set this up yourself?
You don't need a running channel. This works for any creator who makes videos: a cooking channel, a craft channel, a travel vlog. Start with just Steps 1, 5 and 6 (one folder, one blog post, one newsletter) and add the rest later.
If you'd like the step-by-step guide with every setting and every screen, join the newsletter. That's where it goes out first.