I know Pinterest works. I took the courses, I have a folder full of Canva pin templates, and I have a spreadsheet of title formulas that took me ages to build. And I still hate making pins. Picking photos, typing titles, nudging text boxes, writing descriptions, uploading, scheduling, again and again for every post.
So I built a workflow where I don't make pins at all. Claude makes them from my own templates, I look at the whole batch once and say yes, and they get scheduled. Then once a month, Claude checks which pins actually worked and uses that to make the next batch better.
This post is the setup: every piece, what it does, and how to build your own. It's brand new, so I don't have results to brag about yet. I'll share those in a follow-up once Pinterest has had time to do its thing (it's slow, usually a few weeks).

The whole thing in one sentence
Claude picks the posts, writes the titles, makes the pins in Canva, I approve the batch, Claude schedules them in Pinterest, and a monthly check feeds the winners into next month.
My part is about 5 to 10 minutes per batch.
What you need
- Pinterest (a free business account) with a few boards for your topics.
- Canva with at least one pin template you like.
- Claude (a paid plan) with two add-ons switched on:
- the Canva connector, which lets Claude open and edit your Canva designs
- Claude in Chrome, a browser extension that lets Claude click around websites for you. It asks before anything important.
- The Claude desktop app on your computer. You'll see why in Step 5.
- Your Pinterest know-how, written down. Title formulas, keyword ideas, rules you've learned. Mine already lived in a spreadsheet.
You do not need to know how to code for any of this.
Step 1: Give Claude your template and your rules
This is the only real setup, and it's a one-time thing. Point Claude to:
- Your pin template in Canva. Just tell it the design's name.
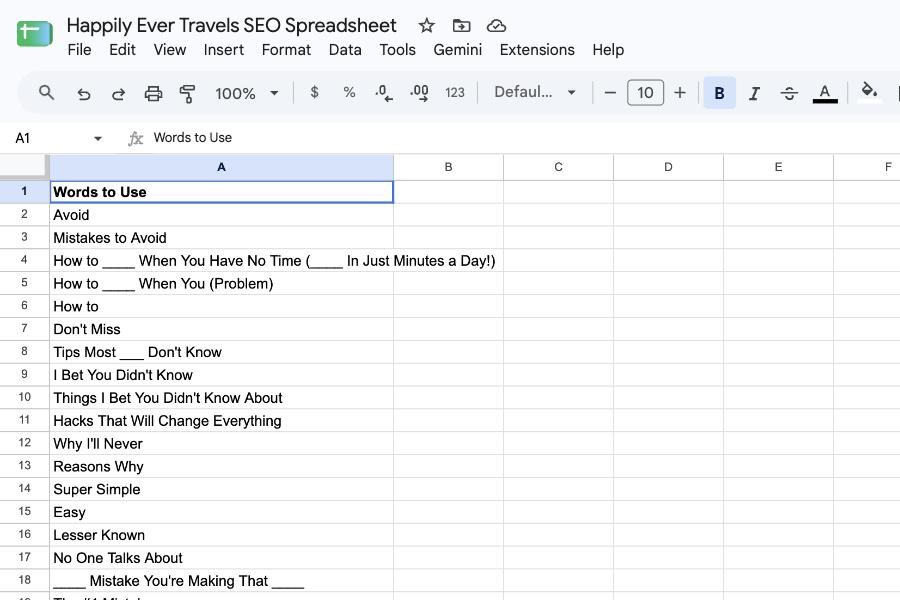
- Your title formulas. I have about 35, things like "Mistakes to Avoid," "How to ___ When You Have No Time" and "No One Talks About." Claude picks from these instead of inventing titles.
- Your Pinterest tips. Mine say: 3 pins per post per month, same keyword description on all three, different titles and looks, and 3 to 4 keywords per description.
Step 2: Write down your design rules
This step is the difference between pins that look like you and pins that look like a robot made them. After the first test batch, I gave Claude my rules, and it saves them in a written playbook it follows every time:
- Readable first. The pin has to stop someone mid-scroll. Strong contrast between the text box and the words, big words, the main phrase on one line.
- No yellow text, and never white text on white. If a font has a white outline, its fill has to be a strong color.
- Truly centered. Text centered in its box, the box hugging the text with equal space above and below.
- Colors come from the photo. A sea photo gets a teal box, a pink sunset gets pink. That's what makes pins look intentional.
- Photos come from the post the pin links to, checked to make sure they really show that place.
- The pin's words match the post. No clickbait the post doesn't deliver.
Write your own version. If something bugs you in a batch, add it as a rule, and it never happens again.
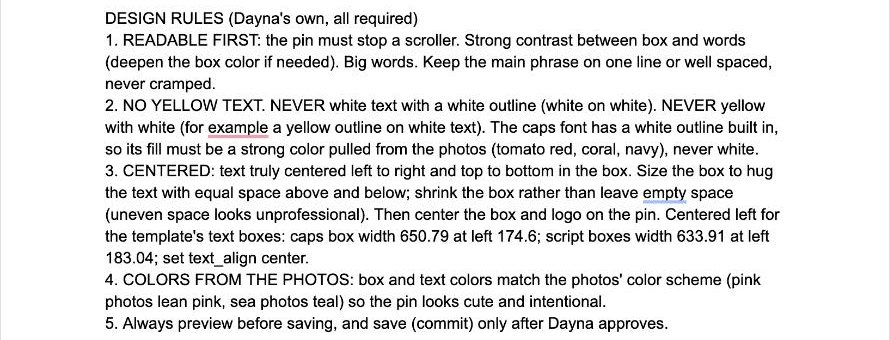
The playbook is just a Google Doc. Claude reads it before every Pinterest job, so the rules never get forgotten between batches.
Step 3: Claude makes the batch in Canva
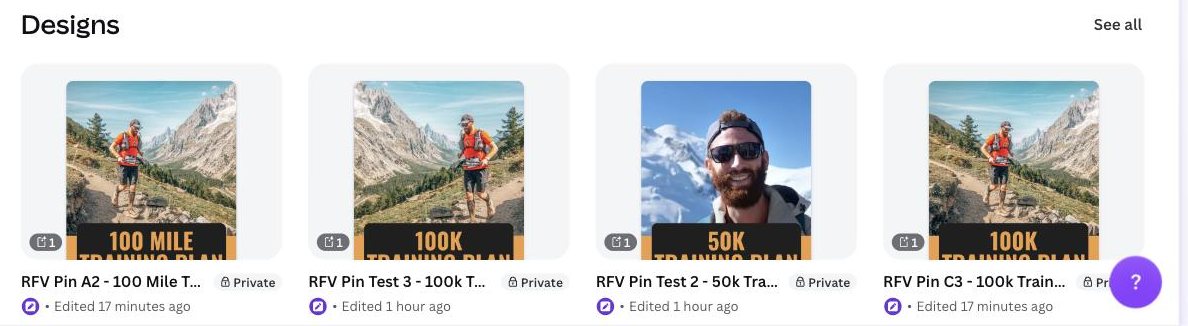
Once a month, Claude picks which posts get pins, writes 3 titles per post from your formulas, writes the description, and makes each pin in Canva: it copies your template, swaps in the photo, changes the words and picks the colors.
The pins wait in your Canva account until you look at them. Nothing is on Pinterest yet.
Step 4: Approve the whole batch in one look
This is your only regular job. Claude shows you every pin with its title, description, board and date. You say yes, or "change pin 3, the text is too small."
Nothing gets posted without your yes. That's my rule for everything Claude does for me.
What it looks like: an ordinary message from Claude in the chat, like a text. It lists the batch one pin at a time: the words on the pin, which post it links to, which board it goes on and the day and time it goes out. Each pin has a link so you can open it in Canva and look at it full size. You answer in the chat the same way you'd answer a friend: "yes" or "pin 3, bigger text please."
Step 5: Claude schedules them in Pinterest
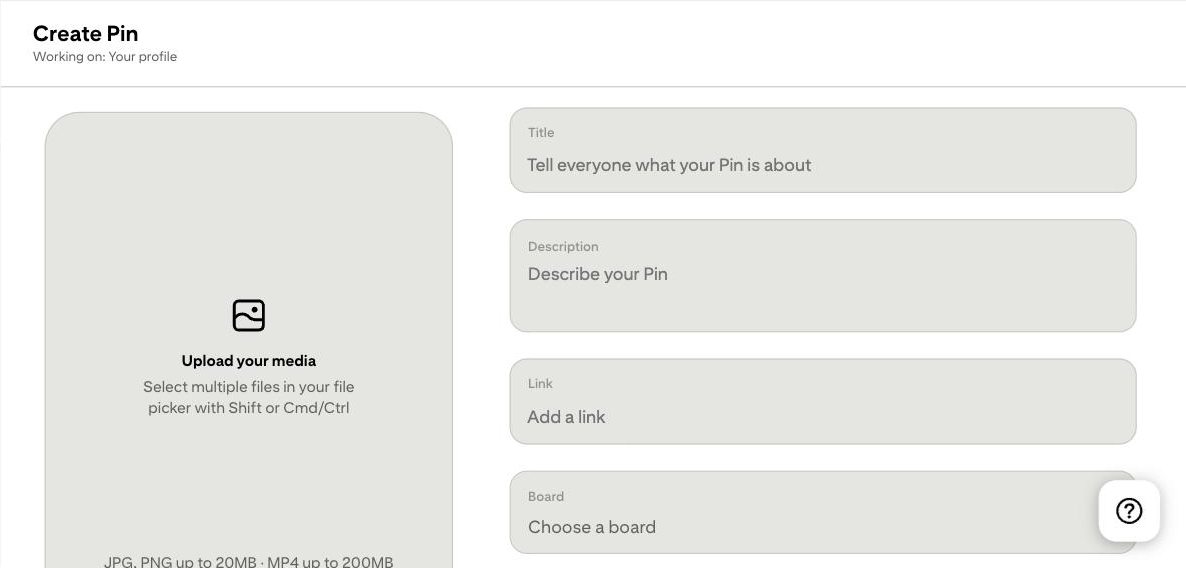
After your yes, Claude opens Pinterest in your browser with Claude in Chrome and fills in each pin: image, title, description, link, board, date and time. Then it schedules them, so they go out over the month instead of all at once.
Why you need the desktop app: Pinterest can't pull images straight from Canva. So Claude exports each pin from Canva as a picture, saves it in a folder on your computer (mine is Pictures > Pinterest pins), and uploads it from there. That only works when the chat is open in the Claude desktop app on that computer.
Step 6: The monthly check makes it smarter
This is the part I'm most excited about. Once a month, a scheduled task (a job Claude runs on its own on a set day) opens Pinterest Analytics and reads how each pin did: impressions, saves and outbound clicks, meaning people who clicked through to your blog.
It writes that down per pin, along with which title formula and which look the pin used. Over time, that shows which formulas and styles actually get clicks, and the next batch leans on the winners. It only reads, never changes anything, and big changes get suggested to me rather than made.
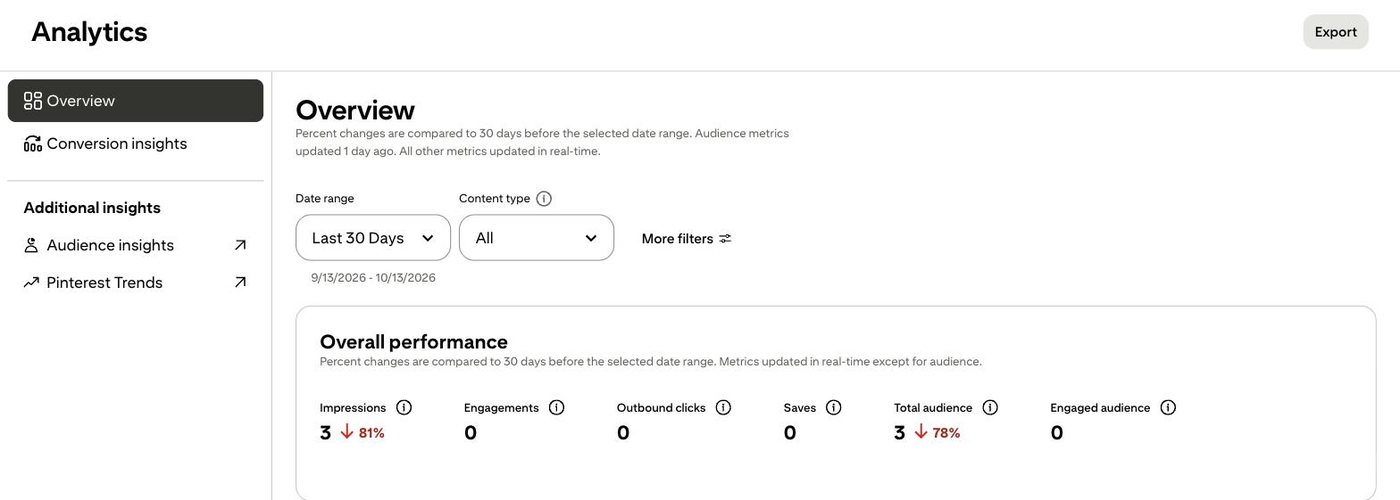
Those zeros are real: this was taken before the first pins went out. That's the starting line.
Where it's running now
I tested it on my own travel blog, Happily Ever Travels, first: 3 test pins for one post, then a full batch of 15 pins for 5 posts.
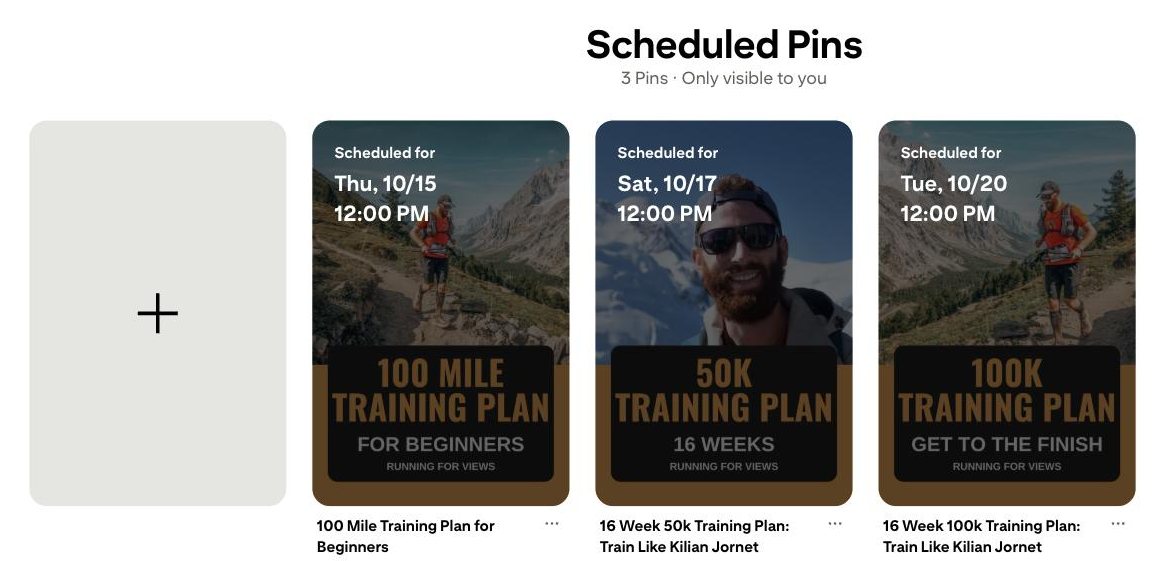
Then we set it up for my husband Jake's trail running site, Running for Views: 3 pins for his training plans (a 100 mile plan for beginners, a 50k plan and a 100k plan). Each of those posts has a newsletter signup, so a click from Pinterest can turn into a subscriber, not just a visit.
Next up is this blog. I'm adding one site at a time, a few weeks apart, so it never turns into a time sink.
Want to set this up yourself?
Start small: one template, one post, 3 pins. Approve them, schedule them, and see how it feels. Add the monthly check once you have a few weeks of pins out there.
I'm putting together a beginner's guide to my whole setup, with every screen and the actual templates I use. Join the newsletter to hear first when it's ready.